Connect your Apple TV to compatible devices using optical audio and troubleshoot common issues such as sync problems and audio dropouts. Follow this guide for a seamless audio experience.
Apple TV Optical Audio Connectivity
When it comes to enjoying high-quality audio, optical connections have long been a popular choice for many television users. But what exactly is optical audio, and how does it work with Apple TV? In this section, we’ll delve into the world of optical audio connections and explore the different types, Apple TV’s optical audio jack details, and compatible devices for optical audio.
Types of Optical Audio Connections
Optical audio connections are based on a simple premise: sending audio signals through a fibers optic cable instead of traditional analog or digital signals. This offers numerous benefits, including reduced interference, improved sound quality, and increased reliability. There are three primary types of optical audio connections: Toslink, RCA, and MHL.
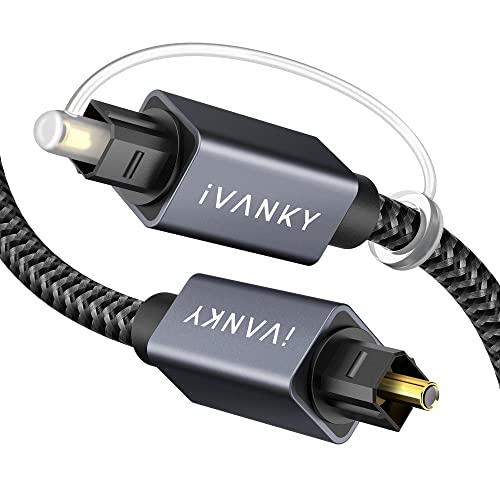
- Toslink: The most common type, Toslink uses a single fiber optic cable to transmit audio signals. It’s widely used in consumer electronics and home theaters.
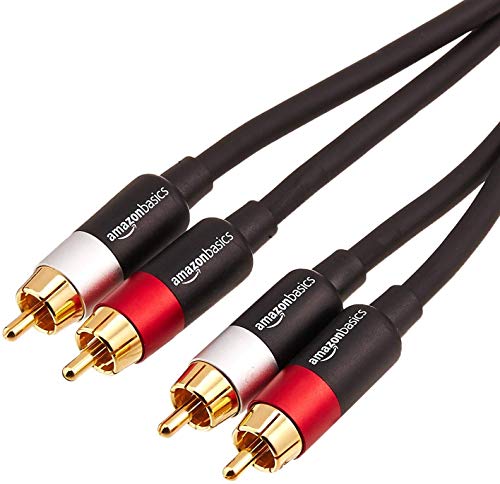
- RCA: RCA optical connections use two separate cables, one for the left audio channel and one for the right. This type is typically seen in high-end audio equipment and gaming consoles.
- MHL: MHL stands for Mobile High-Definition Link, and it allows for high-definition audio and video transmission over a single cable. This type is often found in smartphones, tablets, and smart TVs.
Apple TV Optical Audio Jack Details
Apple TV’s optical audio jack is designed to work seamlessly with various optical audio devices. The jack is located on the back of the TV, typically on the side or top. To connect your Apple TV to an optical audio device, simply plug one end of the optical audio cable into the Apple TV’s jack and the other end into the device’s optical input.
Compatible Devices for Optical Audio
A wide range of devices are compatible with Apple TV’s optical audio capabilities, including:
- Home theaters
- Soundbars
- Receivers
- Amplifiers
- Speakers
- Gaming consoles
With the right equipment, you can enjoy immersive audio experiences with Apple TV, whether you’re playing games, watching movies, or streaming your favorite shows. In the next section, we’ll explore the process of setting up optical audio on Apple TV.
Setting Up Optical Audio on Apple TV
Optical audio allows you to send high-quality audio signals from your Apple TV to compatible devices, providing a sleek and seamless viewing experience. But before you can start enjoying your favorite shows and movies with superior sound quality, you need to set up your optical audio connection. In this section, we’ll guide you through the process step by step.
Cable Requirements for Optical Audio
To get started, you’ll need a few essential cables and adapters. First, make sure you have a compatible optical audio cable that fits your Apple TV and audio device. A standard optical cable usually has a Toslink connector on one end and an optical port on the other. If your Apple TV has a proprietary optical port, you may need a specific Apple-branded optical cable or an adapter to convert the port to a standard Toslink connector.
If you’re unsure about the compatibility of your cable or adapter, check the packaging or manufacturer’s documentation for specifications and guidelines. Don’t worry if you’re not sure what all the technical jargon means – it’s all about ensuring a secure and stable connection.
Pairing Audio Equipment via Optical
Now that you have the necessary cables, it’s time to pair your audio equipment with your Apple TV. The process is straightforward: simply plug the optical end of the cable into the optical port on your Apple TV and the other end into the optical input on your audio device (such as a soundbar, receiver, or home theater system). Make sure the cable is securely connected to both devices to prevent any signal loss or distortion.
Once the connection is made, you may need to adjust some settings on your audio device to optimize the audio signal. Check your audio device’s manual or manufacturer’s website for specific instructions.
Troubleshooting Optical Audio Issues
Troubleshooting can be a frustrating experience, especially when it comes to technical issues like audio connectivity problems. But don’t worry, we’re here to guide you through some common errors and solutions to get your optical audio up and running smoothly.
Common Error Messages for Optical Audio
When you encounter an issue with your optical audio connection, you may see one of the following error messages. Don’t panic! These messages are just technical terms for common problems. Here’s a breakdown of what they mean:
- “No signal detected”: This error message indicates that your Apple TV is not receiving a signal from your audio device. Check that your cables are securely connected and that your audio equipment is turned on.
- “Audio not authorized”: This error message means that your Apple TV has not recognized your audio device. Restart your Apple TV and try connecting your audio device again.
- “Audio settings incorrect”: This error message indicates that your audio settings are misconfigured. Check your Apple TV’s audio settings to ensure that they match the settings on your audio device.
Resolving Audio Sync Issues
Sometimes, your audio and video may become out of sync, resulting in an unpleasant stuttering or lagging effect. This issue can be caused by a variety of factors, including:
- Incorrect audio settings
- Poor cable quality
- Congestion on your Wi-Fi network
To resolve audio sync issues, try the following:
- Check your audio settings to ensure that they are correctly configured
- Use high-quality cables to connect your devices
- Restart your Apple TV and your audio device
- Check for any software updates and apply them
- If you’re using a wireless audio device, try connecting it via cable to rule out any network congestion issues
Fixing Audio Dropouts with Optical Connection
An optical audio dropout occurs when your audio connection is interrupted, resulting in a loss of sound. This issue can be caused by a variety of factors, including:
- Loose connections
- Faulty cables
- Congestion on your Wi-Fi network
- Incorrect audio settings
To fix audio dropouts with an optical connection, try the following:
- Check your cables for any signs of damage or wear and tear. Replace them if necessary
- Ensure that your optical audio cable is securely connected to both your Apple TV and your audio device
- Restart your Apple TV and your audio device
- Check for any software updates and apply them
- If you’re using a wireless audio device, try connecting it via cable to rule out any network congestion issues
