Discover effective methods for fixing headphone jack issues, including identifying problems, cleaning techniques, and options for a seamless audio experience.
Identifying the Issue
Loose Connection
When it comes to headphone issues, one common culprit is a loose connection. This can happen over time with wear and tear, or it could be due to a manufacturing defect. A loose connection can result in intermittent sound, crackling noises, or even no sound output at all. It can be frustrating when you’re trying to enjoy your favorite music or watch a movie, only to be plagued by these pesky connection issues.
To identify if a loose connection is the problem, start by checking the headphone jack itself. Inspect it closely for any visible damage or signs of wear. Sometimes a loose connection can be as simple as a dirty or corroded jack, so make sure to clean it thoroughly before jumping to any conclusions. Additionally, try wiggling the headphone plug while it’s inserted into the jack to see if the sound cuts in and out. If it does, then you likely have a loose connection that needs to be addressed.
No Sound Output
Another common issue that headphone users encounter is no sound output at all. This can be incredibly frustrating, especially if you’re in the middle of a phone call or trying to listen to your favorite podcast. There are several potential reasons why your headphones may not be producing any sound, ranging from simple fixes to more complex problems.
One possible reason for no sound output is a faulty audio cable. Over time, the cable can become frayed or damaged, resulting in a loss of connectivity. To troubleshoot this issue, try using a different audio cable to see if that resolves the problem. If it does, then you know that the cable was the issue. Another possible reason for no sound output could be a software issue on the device you’re using. Make sure to check the volume settings and audio output settings to ensure everything is configured correctly.
Cleaning the Headphone Jack
Using Compressed Air
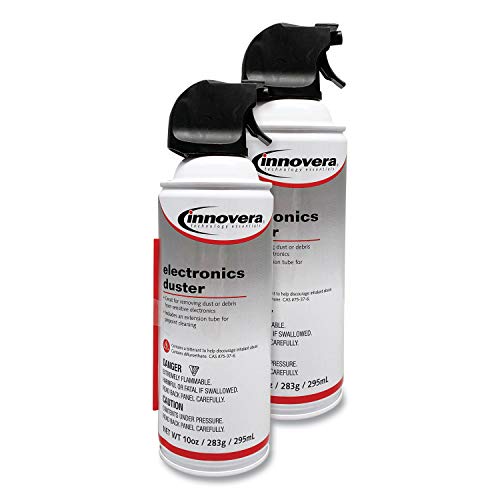
When it comes to cleaning your , using compressed air can be a quick and effective solution. Over time, dust, lint, and other debris can build up inside the jack, causing poor connection and sound quality issues. By using compressed air, you can easily blow out any debris that may be trapped inside.
- Start by purchasing a can of compressed air specifically designed for electronics.
- Hold the can upright and carefully insert the nozzle into the headphone jack.
- Gently press the trigger to release short bursts of air into the jack.
- Repeat this process a few times to ensure that all debris is removed.
- Be careful not to use too much force, as this can damage the delicate components inside the jack.
Using compressed air is a simple and effective way to clean out your headphone jack and improve sound quality. By regularly maintaining your devices in this way, you can prevent issues from arising in the future and ensure that your headphones continue to function optimally.
Alcohol Swab Cleaning
If compressed air alone doesn’t solve the issue, you may need to take a more hands-on approach to cleaning your headphone jack. One method that is commonly used is alcohol swab cleaning. This involves using a small amount of isopropyl alcohol on a cotton swab to clean the inside of the jack.
- Begin by powering off your device and removing any headphones or cables from the jack.
- Dip a cotton swab in isopropyl alcohol, making sure it is not dripping wet.
- Gently insert the swab into the headphone jack and rotate it to remove any dirt or debris.
- Allow the jack to dry completely before using it again.
Alcohol swab cleaning is a more intensive cleaning method that can help to remove stubborn debris that compressed air may not be able to dislodge. However, it is important to use caution when using this method, as excess alcohol can damage the internal components of the jack. By following these steps carefully, you can effectively clean your headphone jack and restore sound quality to your device.
Repairing the Headphone Jack
When it comes to fixing issues with your headphone jack, there are a couple of options you can explore – replacing the jack or soldering the connections. Let’s dive into each of these methods to help you get your headphones back up and running smoothly.

Replacing the Jack
If you find that your headphone jack is damaged beyond , replacing it may be the best solution. This process involves removing the old jack and installing a new one in its place. Here’s a step-by-step guide on how to replace the jack:
- Step 1: Gather the necessary tools – a soldering iron, replacement headphone jack, and small screwdriver.
- Step 2: Remove the casing of your headphone to access the internal components.
- Step 3: Locate the existing headphone jack and desolder the connections using the soldering iron.
- Step 4: Once the old jack is removed, solder the connections of the new jack in place.
- Step 5: Test the headphone to ensure the new jack is functioning properly.
Replacing the headphone jack can be a straightforward process if you have the right tools and a basic understanding of soldering. If you’re not comfortable with soldering, you may want to consider seeking help from a professional technician.
Soldering the Connections
If the issue with your headphone jack is related to loose connections, soldering the connections may be the solution. Soldering involves melting a metal alloy to create a permanent bond between two components. Here’s how you can solder the connections of your :
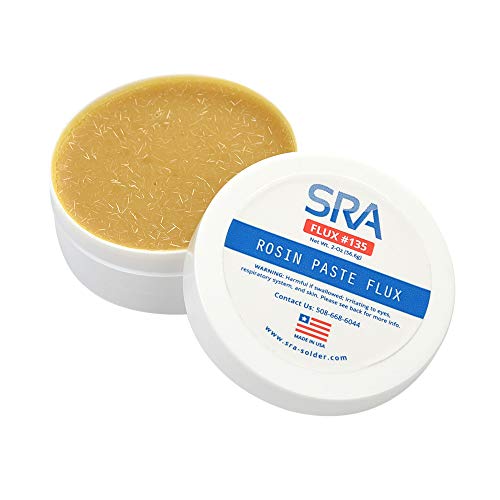
- Step 1: Ensure you have a soldering iron, solder, and flux on hand.
- Step 2: Disassemble your headphone to access the internal components.
- Step 3: Identify the loose connections on the headphone jack.
- Step 4: Apply flux to the connections to ensure a clean solder joint.
- Step 5: Heat the soldering iron and carefully solder the loose connections.
- Step 6: Test the headphone to confirm that the connections are secure.
Soldering the connections of your can be a delicate process that requires precision and patience. It’s essential to follow the proper soldering techniques to avoid damaging the components further.
Troubleshooting Tips
When your headphones are not working properly, it can be frustrating trying to figure out what the issue is. Before you rush to buy a new pair, try these tips to see if you can the problem yourself.
Testing with Another Device
One of the first things you should do when your headphones are not working is to test them with another device. Sometimes the issue may not be with the headphones themselves, but with the device you are trying to use them with. Plug your headphones into a different device, such as a phone or laptop, to see if they work. If they do, then the issue may be with the original device you were using.
Checking for Software Issues
If testing your headphones with another device does not solve the problem, the issue may be with the software on your device. Check for any software updates that may be available for the device you are using. Sometimes, a simple software update can compatibility issues that may be causing your headphones to not work properly. Additionally, make sure that the volume on your device is turned up and that the headphone jack is clean and free of any debris that may be blocking the connection.
In conclusion, issues with your headphones can be a simple process if you follow these tips. By testing your headphones with another device and checking for software issues, you may be able to identify and the problem without having to spend money on a new pair of headphones. Remember to always check the basics before assuming the worst, and you may just save yourself some time and frustration in the process.
