Discover the steps to remove a broken headphone jack using tools like needle-nose pliers and super glue. Follow safety precautions and test your device for functionality.
Tools Needed
When it comes to fixing a broken headphone jack, having the right tools on hand is essential. Here are the three key tools you’ll need to successfully remove a broken headphone jack:
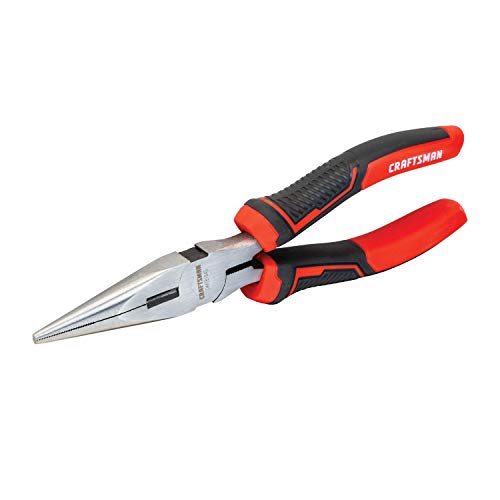
Needle-nose pliers
Needle-nose pliers are a must-have tool for any DIY enthusiast. Their long, slender jaws make it easy to grip small objects with precision, making them perfect for extracting a broken headphone jack. With a good pair of needle-nose pliers, you’ll be able to get a firm hold on the broken piece and carefully it without causing further damage to your device.
Super glue
Super glue is a handy adhesive that can be used to secure the broken piece of the headphone jack in place before removal. By applying a small amount of super glue to the broken end of the jack, you can ensure that it stays in place while you work to extract it. Just be sure to use the glue sparingly to avoid any excess dripping into your device.
Small screwdriver
A small screwdriver is another essential tool for removing a broken headphone jack. This tool can be used to gently pry out the broken jack once it has been secured with super glue. The small size of the screwdriver makes it easy to maneuver in tight spaces and helps to prevent any further damage to your device during the extraction process.

In summary, having needle-nose pliers, super glue, and a small screwdriver on hand will set you up for success when it comes to removing a broken headphone jack. These tools will help you tackle the task with precision and care, ensuring that your device remains intact throughout the repair process. So gather your tools and get ready to fix that broken headphone jack!
Steps to Remove Broken Headphone Jack
Assess the Damage
When faced with a broken headphone jack, the first step is to carefully assess the extent of the damage. Look closely at the broken piece to determine how it is lodged in the device. Is it stuck deep inside, or is it partially protruding? Understanding the situation will help you determine the best approach to removing it without causing further harm.
Use Needle-Nose Pliers to Grip the Broken Piece
One of the most effective tools for removing a broken headphone jack is a pair of needle-nose pliers. These slim and pointed pliers can easily grip onto the broken piece, allowing you to have a firm hold on it for extraction. Be sure to position the pliers securely around the broken jack before applying any pressure to avoid causing more damage.
Apply Super Glue to Secure the Broken Piece
In some cases, the broken headphone jack may be too fragile or small to grip with pliers alone. In such situations, applying a small amount of super glue to the broken piece can help secure it for removal. Carefully dab the super glue onto the broken jack and hold it in place until the glue sets. This will provide additional stability for the extraction process.
Use a Small Screwdriver to Gently Pry out the Broken Jack
Once the broken piece is securely held in place, it’s time to carefully pry it out using a small screwdriver. Choose a screwdriver that fits snugly around the broken jack to avoid causing any unnecessary damage to the surrounding components. Gently apply pressure in a twisting motion to slowly ease the broken jack out of the device. Patience and precision are key in this step to ensure a successful extraction.
By following these steps and utilizing the right tools, you can effectively remove a broken headphone jack without causing further harm to your device. Remember to proceed with caution and take your time to avoid any mishaps during the extraction process.
Safety Precautions
Disconnect the Device
Before attempting to remove a broken headphone jack, it is crucial to disconnect the device from any power source. This simple step can prevent any electrical accidents or damage to the device itself. Always prioritize safety by ensuring the device is completely turned off and unplugged before proceeding.
Use Caution When Handling Sharp Tools
When dealing with tools such as needle-nose pliers and small screwdrivers, it is essential to exercise caution. These tools can be sharp and potentially cause harm if not handled properly. Make sure to grip them firmly but gently, avoiding any sudden movements that could lead to accidents or injuries.
Avoid Using Excessive Force
One common mistake when trying to remove a broken headphone jack is applying excessive force. This can not only damage the device further but also pose a risk to your safety. Instead of forcing the broken piece out, take a step back and reassess the situation. Patience is key when dealing with delicate electronics, so proceed with a steady hand and gentle touch.
- Remember to always prioritize safety first.
- Handle sharp tools with care to avoid accidents.
- Take your time and avoid rushing the removal process.
By following these safety precautions, you can ensure a smooth and safe experience when removing a broken headphone jack. Stay mindful of your actions, be patient, and always prioritize safety above all else.

What to Do After Removing the Broken Headphone Jack
Test the Headphone Jack
After successfully removing the broken headphone jack from your device, the next step is to test the headphone jack to ensure it is functioning properly. Plug in a working pair of headphones and play some music or a video to see if sound is coming through clearly. If you encounter any issues such as crackling sounds or no audio at all, there may still be some debris or damage inside the jack that needs to be addressed.
Ensure No Damage to the Device
It is crucial to inspect the device for any potential damage that may have occurred during the removal process. Check for any scratches, dents, or loose components that could have been caused by using tools to extract the broken jack. If you notice any damage, it is advisable to consult a professional technician to assess and repair the device to prevent further issues.
Consider Using a Wireless Adapter
If you find that the headphone jack is still not functioning properly or if you prefer a wireless audio experience, consider using a wireless adapter. Wireless adapters allow you to connect your headphones to your device via Bluetooth, eliminating the need for a physical headphone jack. This can be a convenient solution for those who want to enjoy music or videos without the hassle of dealing with a faulty headphone jack.
- Explore wireless adapter options
- Check compatibility with your device
- Enjoy the freedom of wireless audio
By following these steps and recommendations, you can ensure that your device is in good working condition after removing the broken headphone jack. Test the headphone jack, inspect for any damage, and consider alternative audio solutions for a seamless audio experience.
