Get a complete RCA cable wiring diagram and understanding of how to connect RCA cables for audio and video purposes with our guide, covering basics, repair, and configuration options.
RCA Cable Basics
RCA cables are an essential part of any home entertainment system, allowing you to connect devices and enjoy your favorite movies, TV shows, and music. But have you ever stopped to think about what makes an RCA cable tick? Let’s take a closer look at the basics.
RCA Jack Types
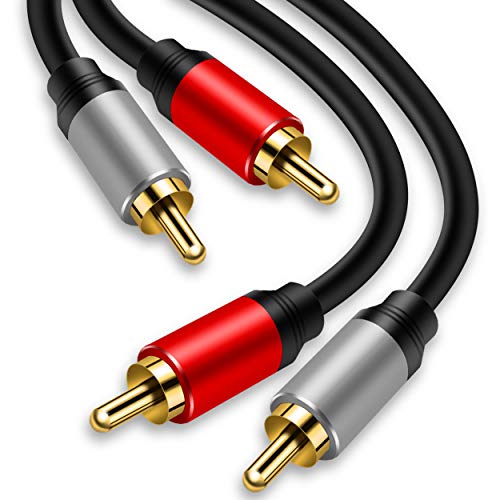
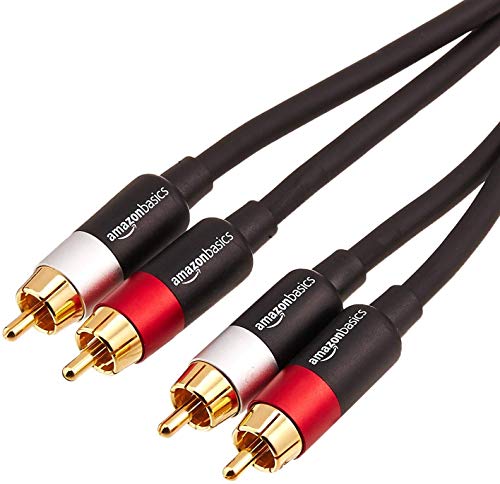
When it comes to RCA cables, connectors are a critical component. You may have noticed that RCA cables have three or four RCA jacks on them. Don’t worry, we’re not going to dive deep into the world of terminologies just yet. For now, let’s just focus on the three types of RCA jacks you’ll commonly find:
- Yellow: This is the video jack, which carries the video signal.
- White: This is the left audio jack, which carries the left audio signal.
- Red: This is the right audio jack, which carries the right audio signal.
Pinout Explanation
So, what exactly is pinout? Pinout refers to the way in which the inner contacts of the RCA connector are wired. In other words, it’s the physical layout of the pins inside the connector. Think of it like a phone number: just as each phone number has a specific sequence of numbers that corresponds to a specific location, each RCA jack has a specific pinout that corresponds to its function.
Inside the RCA connector, there are pins that match up with the inner contacts on the cable. When you plug the cable into a device, these pins make contact with the corresponding inner contacts, completing the circuit and allowing the signal to flow. The pinout of an RCA cable is usually marked on the cable itself or on the device it’s connected to.

RCA Cable Wiring Diagram
Component Leads Explanation
When diving into the world of RCA cables, it’s essential to understand the inner workings of the component leads. These leads are responsible for transmitting audio and video signals between devices. Think of them as the highway system for your signals, allowing them to travel safely and efficiently from point A to point B. Do you know what type of information each lead carries? Let’s break it down. There are typically three to five color-coded leads in an RCA cable: red (left audio), white (right audio), and yellow (video). Sometimes, you may also come across green (composite video) and blue (additional audio or video) leads. Each lead serves a specific purpose, and it’s crucial to match the correct lead to the corresponding connector.
Composite Video Signal Wiring
Composite video signals are a combination of colors, luminance, and chroma information sent as a single signal. In the context of RCA cables, this signal is transmitted through the yellow lead. Think of it like a symphony conductor, where all the individual components come together to create a harmonious whole. The composite video signal includes the following:
- Luminance (brightness information)
- Chroma (color information)
- Sync signals (horizontal and vertical sync pulses)
This signal is then decoded by the receiving device, allowing you to enjoy your favorite TV show or movie with vibrant colors and crisp visuals.
Component Video Signal Wiring
Component video signals, on the other hand, are a more complex and advanced way of transmitting video information. This signal is typically sent through three separately colored leads: red (chroma 1), green (luminance), and blue (chroma 2). Think of it like a precision watch, where each gear works together to create a precise and accurate movement. Component video signals are often used in high-end audio/video systems, such as HDTV setups, due to their ability to provide superior picture quality and color accuracy. The component video signal includes the following:
- Chroma 1 (color information)
- Luminance (brightness information)
- Chroma 2 (color information)
- Sync signals (horizontal and vertical sync pulses)
By understanding the inner workings of RCA cable component leads and video signal wiring, you’re better equipped to tackle any audio/video setup with confidence. Remember, a solid grasp of these fundamentals will ensure a seamless and enjoyable viewing experience.
RCA Cable Repair and Troubleshooting
When it comes to RCA cables, malfunctions and issues can occur, causing frustration and hindering your ability to enjoy your audiovisual experiences. In this section, we’ll delve into the common problems you may encounter and provide effective solutions to troubleshoot and repair your RCA cables.
Common Issues and Solutions
RCA cables are susceptible to various problems, including:
- Loose connections: Check if your RCA cables are securely connected to the devices. Make sure they’re snug and firmly seated.
- Faulty components: Replace any damaged or worn-out components, such as connectors or RCA jacks.
- Cable length issues: If your RCA cable is too long, it may cause signal degradation or loss. Consider using a shorter cable or an amplifier to boost the signal.
- Signal interference: Avoid placing your RCA cables near sources of electromagnetic interference (EMI), such as computers or fluorescent lights.
- Physical damage: Inspect your RCA cables for signs of physical damage, such as cuts, tears, or bent pins. Repair or replace damaged sections to ensure proper signal transmission.
Testing RCA Cables for Shorts and Opens
To identify and troubleshoot issues with your RCA cables, you’ll need to perform a simple test:
- Connect one end of the cable to a device (such as a DVD player or game console).
- Use a multimeter to measure the resistance between each conductor (white, red, and yellow). For an RCA cable, you should see:
- Low resistance (< 1 ohm) between the conductors.
- No continuity (complete absence of resistance) between any two conductors.
- Check for shorts: If any conductor has zero resistance or continuity, it may indicate a short circuit.
- Check for opens: If a conductor shows a significant increase in resistance or no signal, it may be an open circuit.
Repairing Damaged RCA Cable Ends
When dealing with damaged RCA cable ends, you may be able to repair them or replace the affected section. Here are some steps to follow:
- Cut off the damaged section using wire cutters or a cable stripper.
- Inspect the cut end to locate the damage. If only the outer insulation is damaged, you may be able to re-insulate the end using electrical tape or heat shrink tubing.
- Strip and clean the conductors to remove any dirt, debris, or damaged insulation.
- Re-terminate the conductors with new RCA jacks or termination caps.
- Apply new insulation to the re-terminated end, ensuring it’s securely attached.
- Test the repaired cable using the same testing procedure outlined above.
By following these steps and troubleshooting techniques, you should be able to identify and repair common issues with your RCA cables, ensuring smooth and reliable audiovisual experiences.

RCA Cable Connections and Configurations
When it comes to connecting RCA cables to your devices, it can seem overwhelming, especially with all the different types and configurations available. But don’t worry, we’re here to guide you through the process and make sure you’re getting the best possible signal.
Connecting RCA Cables to Devices
Before we dive into the nitty-gritty of connecting RCA cables, let’s take a step back and talk about what makes them tick. RCA cables are essentially a type of analog audio/video cable that carries composite or component video signals. The most common types of RCA cables are AV (Audio/Visual) cables, which connect devices like DVD players, gaming consoles, and TVs.
When connecting an RCA cable to a device, make sure the cable is securely seated in the jack and the other end is connected to the corresponding input on your TV, receiver, or DVD player. It’s also important to note that some devices may have different colored RCA jacks (red for video, white for left audio, and yellow for right audio), so make sure to match them up accordingly.
Tips for Connecting RCA Cables:
- Make sure the cable is securely seated in the jack
- Match the colored RCA jacks to the corresponding inputs (red for video, white for left audio, and yellow for right audio)
- Use a high-quality RCA cable that’s designed for digital signals for the best possible sound and picture
Configuring RCA Cables for Composite and Component Video
Now that we’ve covered the basics of connecting RCA cables, it’s time to talk about configuring them for composite and component video. Composite video uses a single RCA cable to transmit composite signal, which is a combination of the video, audio, and sync signals. Component video, on the other hand, uses multiple RCA cables to transmit separate video, audio, and sync signals.
When configuring an RCA cable for composite video, simply connect the cable to the corresponding input on your TV or device and you’re good to go. For component video, you’ll need to connect each cable to the corresponding input (video, audio, and sync), making sure they’re securely seated and matched up correctly.
Diagram of Component Video Signal Wiring:
| Video | Audio | Sync |
|---|---|---|
| Red | White | Yellow |
Using RCA Cables for Audio and Video Separation
RCA cables can also be used for audio and video separation, which is especially important when connecting multiple devices to a single TV or receiver. By separating the audio and video signals, you can create a more immersive viewing experience and reduce signal interference.
To use an RCA cable for audio and video separation, simply plug the video cable into the corresponding input on your TV, and the audio cable into the corresponding input on your receiver or amplifier. This will allow you to adjust the audio levels independently of the video signal, giving you more control over your viewing experience.
By following these simple steps and tips, you can master the art of connecting and configuring RCA cables for composite and component video, and enjoy a clearer, more immersive viewing experience.

